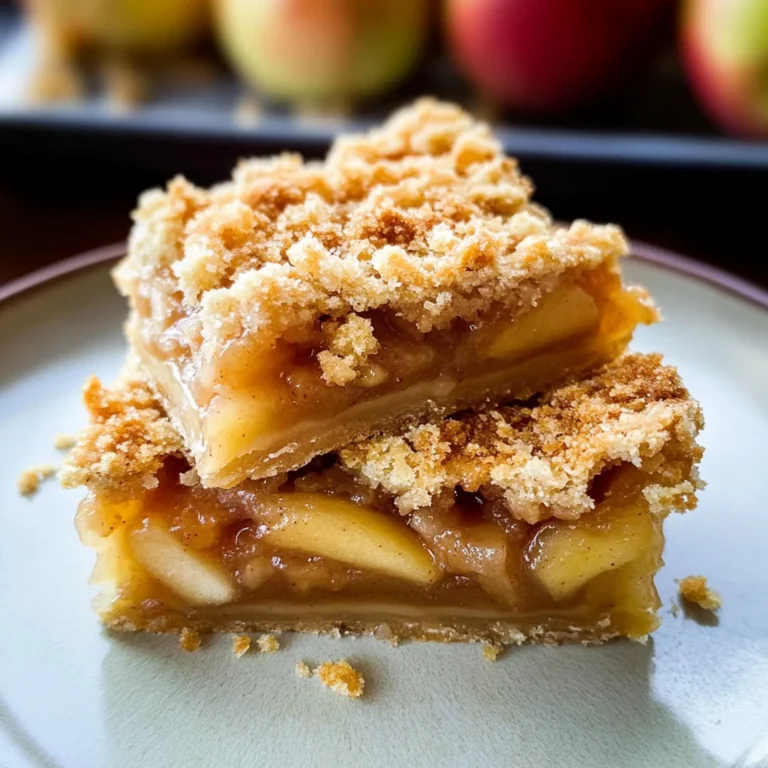
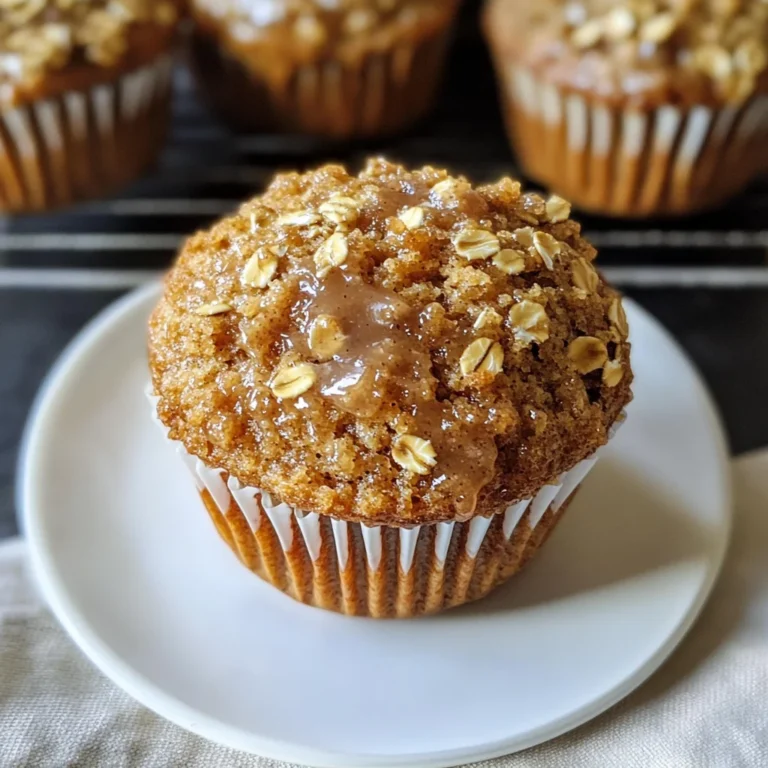
Homemade Apple Pie Filling
If you’re looking for a comforting dessert that brings back warm memories, you’ve come to the right place! This Homemade Apple Pie Filling is not just a recipe; it’s a celebration of flavors and nostalgia. Imagine the sweet aroma of cinnamon and freshly baked apples wafting through your kitchen, making everyone’s mouth water in anticipation. This filling is perfect for all your baking needs, whether you’re whipping up a classic apple pie for a family gathering or using it as a delightful topping for ice cream on busy weeknights.
What I love most about this recipe is its simplicity and versatility. It uses fresh ingredients that are easy to find, and it’s a great way to enjoy the taste of homemade goodness any time of the year. You can even prepare it in advance and store it for future baking adventures!
Why You’ll Love This Recipe
- Quick Preparation: With just 15 minutes of prep time, you’ll have delicious filling ready in no time.
- Family-Friendly Appeal: Everyone loves apple pie! This filling will be a hit with both kids and adults alike.
- Versatile Use: Ideal for pies, tarts, or even as a topping for pancakes or yogurt.
- Make-Ahead Convenience: Prepare in bulk and store it for those unexpected cravings or last-minute gatherings.
- Delicious Flavor: The combination of spices with fresh apples creates an irresistible taste that is hard to beat.
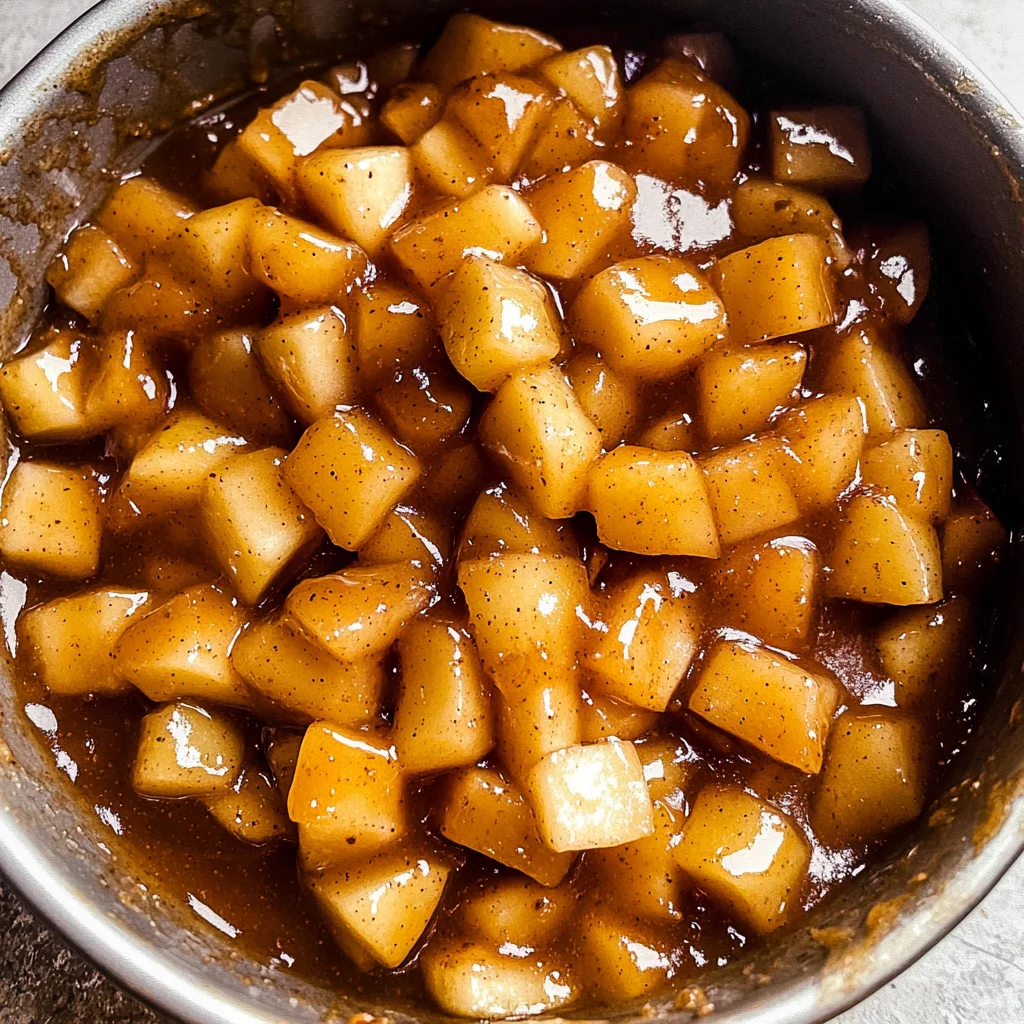
Ingredients You’ll Need
Gathering your ingredients is part of the fun! For this Homemade Apple Pie Filling, you’ll need simple, wholesome items that come together beautifully. Here’s what you’ll need:
Fresh Apples
- 9 cups fresh apples, peeled, cored, and chopped into uniform sizes
Sweeteners & Spices
- 2 tablespoons lemon juice
- 3 cups white sugar
- 2 tablespoons brown sugar
- 1/2 cup cornstarch
- 1 teaspoon ground cinnamon
- 1/2 teaspoon ground nutmeg
- 1/2 teaspoon coarse sea salt
Now that we have our ingredients ready, let’s dive into how to make this delightful filling!
Variations
This recipe is wonderfully flexible! Here are some fun variations to consider:
- Add Other Fruits: Mix in some sliced peaches or pears for an extra fruity twist!
- Experiment with Spices: Try adding ginger or allspice for a different flavor profile.
- Sweeten Naturally: Substitute some sugar with maple syrup or honey for a unique sweetness.
- Make It Chunky: If you prefer more texture, leave some apple pieces larger instead of chopping them uniformly.
How to Make Homemade Apple Pie Filling
Step 1: Prep the Apples
In a large bowl, toss the peeled, cored, and chopped apples with lemon juice. This step is key as it helps prevent browning while adding a touch of brightness to your filling. Set these aside while we whip up the sauce!
Step 2: Make the Sauce
In a large Dutch oven or saucepan, combine white sugar, brown sugar, cornstarch, cinnamon, nutmeg, and sea salt. Pour in 4 cups of water and bring everything to a low simmer. It’s important to stir well so that all the ingredients blend seamlessly before adding the apples.
Step 3: Cook the Apples
Stir in the prepared apples into the simmering mixture. Cover and cook for about 6-10 minutes. If your apple pieces are smaller, they’ll cook faster—closer to 6 minutes. You want them tender enough to pierce easily with a fork while allowing the sauce to thicken beautifully.
Step 4: Cool Down
Once cooked, remove from heat and let your Homemade Apple Pie Filling cool down completely. This step is crucial if you’re planning on storing it later—cooling ensures proper texture when you use it in pies or other desserts.
Step 5: Store or Use
After cooling down, you can use your filling right away in recipes or store it by canning or freezing for later use. Just think about how amazing it will be to pull out this homemade goodness whenever you get that craving!
If you’ve tried this recipe, come back and let us know how it was in the comments or ratings! Happy baking!
Pro Tips for Making Homemade Apple Pie Filling
Making your homemade apple pie filling can be a delightful experience, and a few handy tips can make it even better!
- Choose the right apples: Different apple varieties have unique flavors and textures. Opt for a mix of sweet and tart apples like Granny Smith and Honeycrisp for a well-balanced filling.
- Uniform size matters: Cutting your apples into uniform sizes ensures they cook evenly, so you won’t end up with some pieces mushy while others remain crunchy.
- Adjust sweetness to taste: Depending on the variety of apples used, you might want to adjust the sugar levels. Always taste your filling and tweak accordingly for the perfect sweetness!
- Let it cool completely: Allowing your filling to cool helps it thicken further, making it easier to use in pies or other desserts without a soggy bottom.
- Experiment with spices: While cinnamon and nutmeg are classic, don’t hesitate to add a pinch of allspice or ginger for a unique twist that will surprise your guests!
How to Serve Homemade Apple Pie Filling
Now that you have this delicious apple pie filling ready to go, let’s explore some creative ways to present it!
Garnishes
- Whipped coconut cream: A dollop of whipped coconut cream adds a light, airy texture that complements the rich apple filling beautifully.
- Caramel drizzle: A simple caramel sauce drizzled over the top adds an indulgent touch and enhances the flavor profile with its sweet notes.
Side Dishes
- Vanilla ice cream: The classic pairing! A scoop of creamy vanilla ice cream provides a delightful contrast to the warm apple pie filling.
- Oatmeal cookies: Soft oatmeal cookies can be served alongside or crumbled on top of the filling for added texture and flavor – think of it as an apple crumble!
- Cheese platter: A simple assortment of cheeses can balance out the sweetness of the apple pie filling. Choose mild cheeses like brie or gouda for a lovely contrast.
- Tea or coffee: A warm beverage like spiced chai tea or freshly brewed coffee can enhance your dessert experience, making it cozy and inviting.
With these serving suggestions, you’ll create an unforgettable experience around your homemade apple pie filling! Enjoy every bite and share the joy with others!
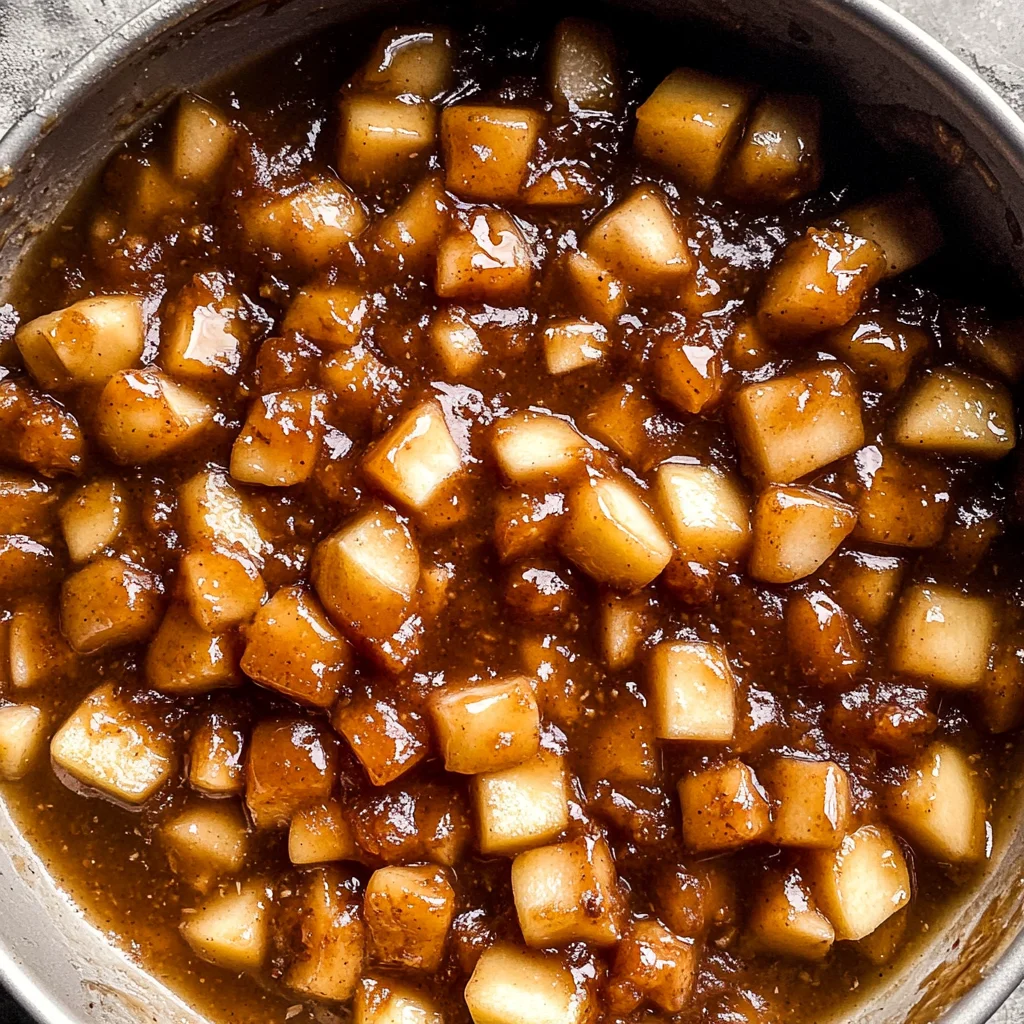
Make Ahead and Storage
This Homemade Apple Pie Filling is perfect for meal prep! You can whip it up in advance, making it a breeze to create delicious desserts whenever you want.
Storing Leftovers
- Store any leftover apple pie filling in an airtight container in the refrigerator.
- It will stay fresh for up to 5 days.
- Make sure to let it cool completely before sealing the container.
Freezing
- For longer storage, freeze the apple pie filling in freezer-safe bags or containers.
- Leave some space at the top of your containers or bags, as the filling may expand when frozen.
- It can be frozen for up to 6 months.
Reheating
- Thaw the apple pie filling overnight in the refrigerator before using it.
- To reheat, simply warm it on the stove over low heat until heated through, stirring occasionally.
- You can also microwave it in short intervals, stirring in between until hot.
FAQs
Here are some common questions about this recipe to help clarify any doubts!
Can I use different types of apples for homemade apple pie filling?
Absolutely! While this recipe works perfectly with any variety of fresh apples, you can mix and match based on your preference. A combination of sweet and tart apples often yields the best flavor!
How long does homemade apple pie filling last?
Your Homemade Apple Pie Filling will last about 5 days in the fridge. If you want to keep it longer, consider freezing it for up to 6 months. Just remember to thaw and reheat before using!
What can I make with homemade apple pie filling?
The possibilities are endless! Use your Homemade Apple Pie Filling for traditional pies, crisps, tarts, or even as a topping for pancakes and waffles. It’s a versatile treat that adds a delightful touch to any dessert!
Final Thoughts
I hope you find joy in making this Homemade Apple Pie Filling! It’s not just a recipe; it’s a way to share warmth and delight with friends and family. Whether you’re preparing a cozy dessert for a gathering or simply indulging yourself, this filling is bound to bring smiles. Enjoy every bite, and don’t forget to share your experience with us!
Homemade Apple Pie Filling
Homemade Apple Pie Filling is a delightful way to capture the essence of fall in every spoonful. This easy-to-make filling combines the natural sweetness of fresh apples with aromatic spices like cinnamon and nutmeg, creating a comforting taste that evokes warm memories. Perfect for pies, tarts, or even as a topping for yogurt or pancakes, this versatile recipe allows you to indulge in homemade goodness any time of year. With a preparation time of just 15 minutes, you can whip up this delicious filling ahead of time and store it for future baking adventures. Whether you’re hosting a family gathering or satisfying a late-night craving, this apple pie filling is sure to impress!
- Prep Time: 15 minutes
- Cook Time: 10 minutes
- Total Time: 25 minutes
- Yield: Approximately 8 servings 1x
- Category: Dessert
- Method: Cooking
- Cuisine: American
Ingredients
- 9 cups fresh apples, peeled, cored, and chopped
- 2 tablespoons lemon juice
- 3 cups white sugar
- 2 tablespoons brown sugar
- 1/2 cup cornstarch
- 1 teaspoon ground cinnamon
- 1/2 teaspoon ground nutmeg
- 1/2 teaspoon coarse sea salt
Instructions
- In a large bowl, toss the chopped apples with lemon juice and set aside.
- In a large saucepan over low heat, combine white sugar, brown sugar, cornstarch, cinnamon, nutmeg, sea salt, and 4 cups of water. Stir well until combined and bring to a low simmer.
- Add the prepared apples to the simmering mixture. Cover and cook for about 6-10 minutes until apples are tender but not mushy.
- Remove from heat and allow the filling to cool completely before using or storing.
Nutrition
- Serving Size: 1/2 cup
- Calories: 190
- Sugar: 38g
- Sodium: 10mg
- Fat: 0g
- Saturated Fat: 0g
- Unsaturated Fat: 0g
- Trans Fat: 0g
- Carbohydrates: 49g
- Fiber: 3g
- Protein: <1g
- Cholesterol: 0mg

